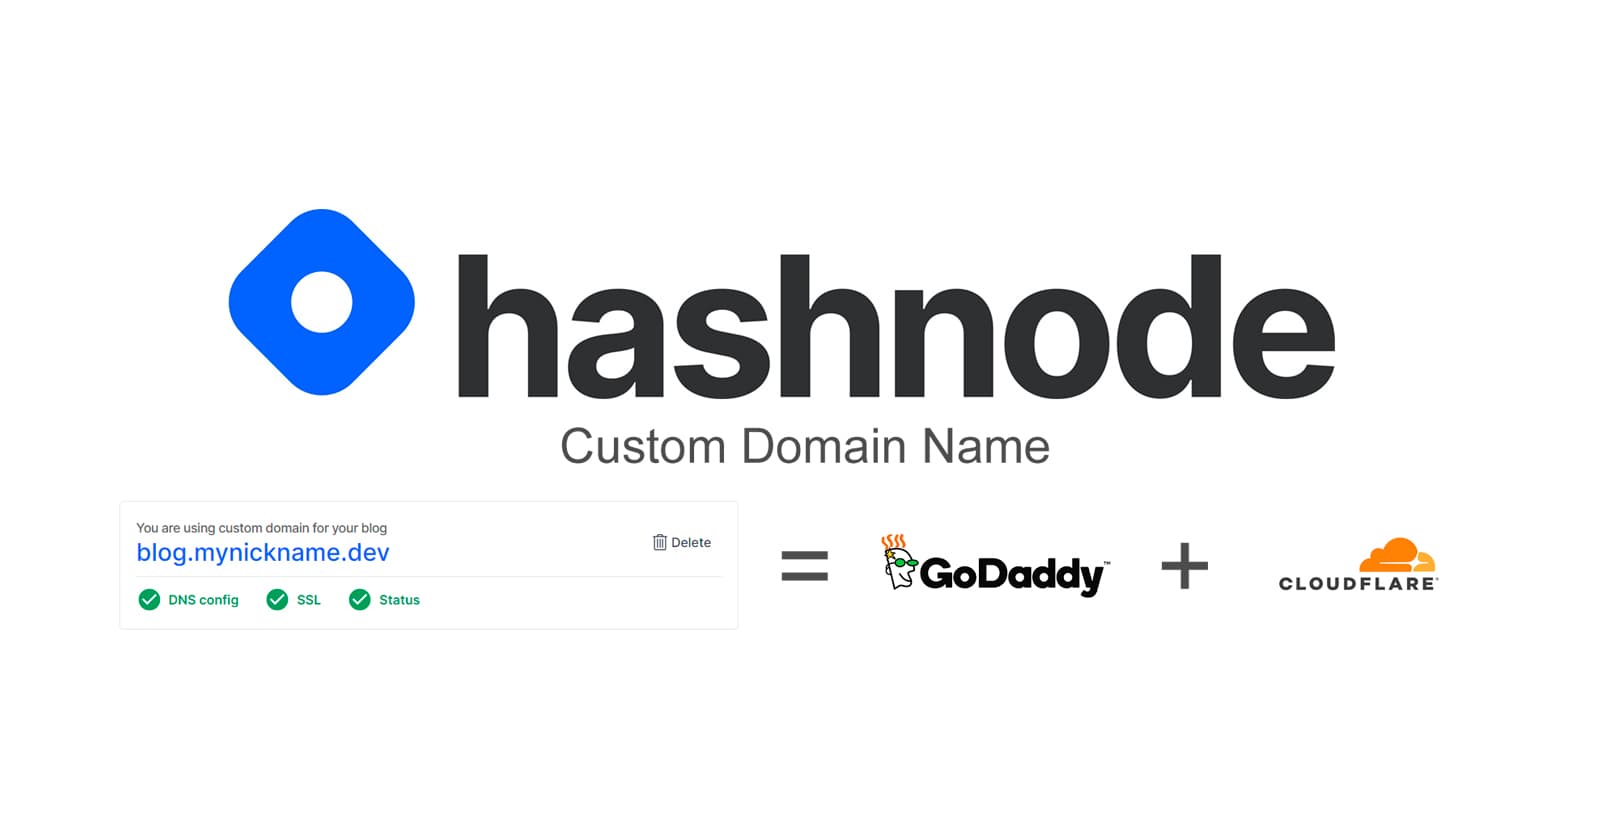
How to create your own Domain name for Hashnode
Domain registration using GoDaddy & configuration via Cloudflare
Web Developer +15 years, Bug Bounty Hunter +5 years, Email: contact@therceman.dev
This article will guide you through the setup & configuration of your custom Hashnode domain name.
Let's begin...
Domain registration on GoDaddy
1) You have to come up with your desired domain name
Note: This is the hardest part of this tutorial 😅
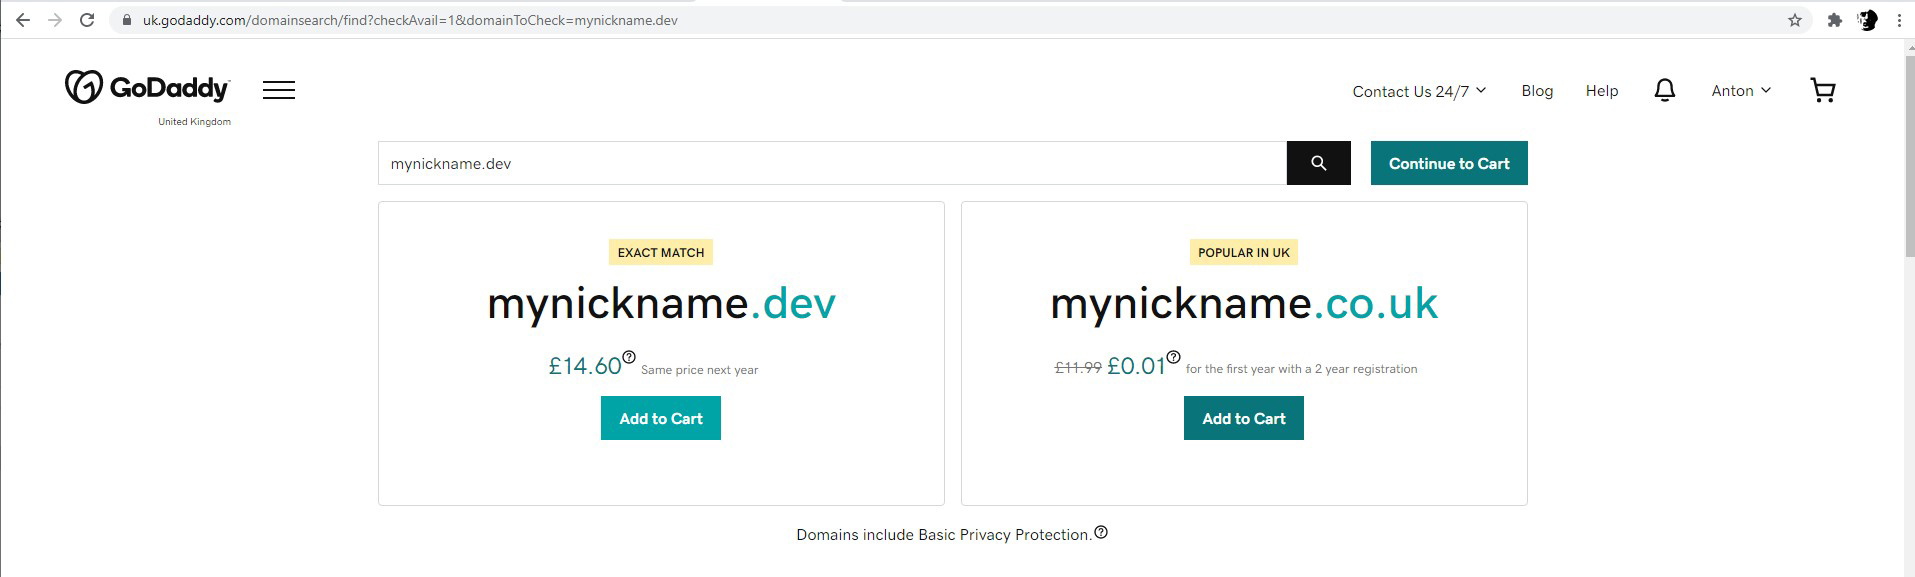
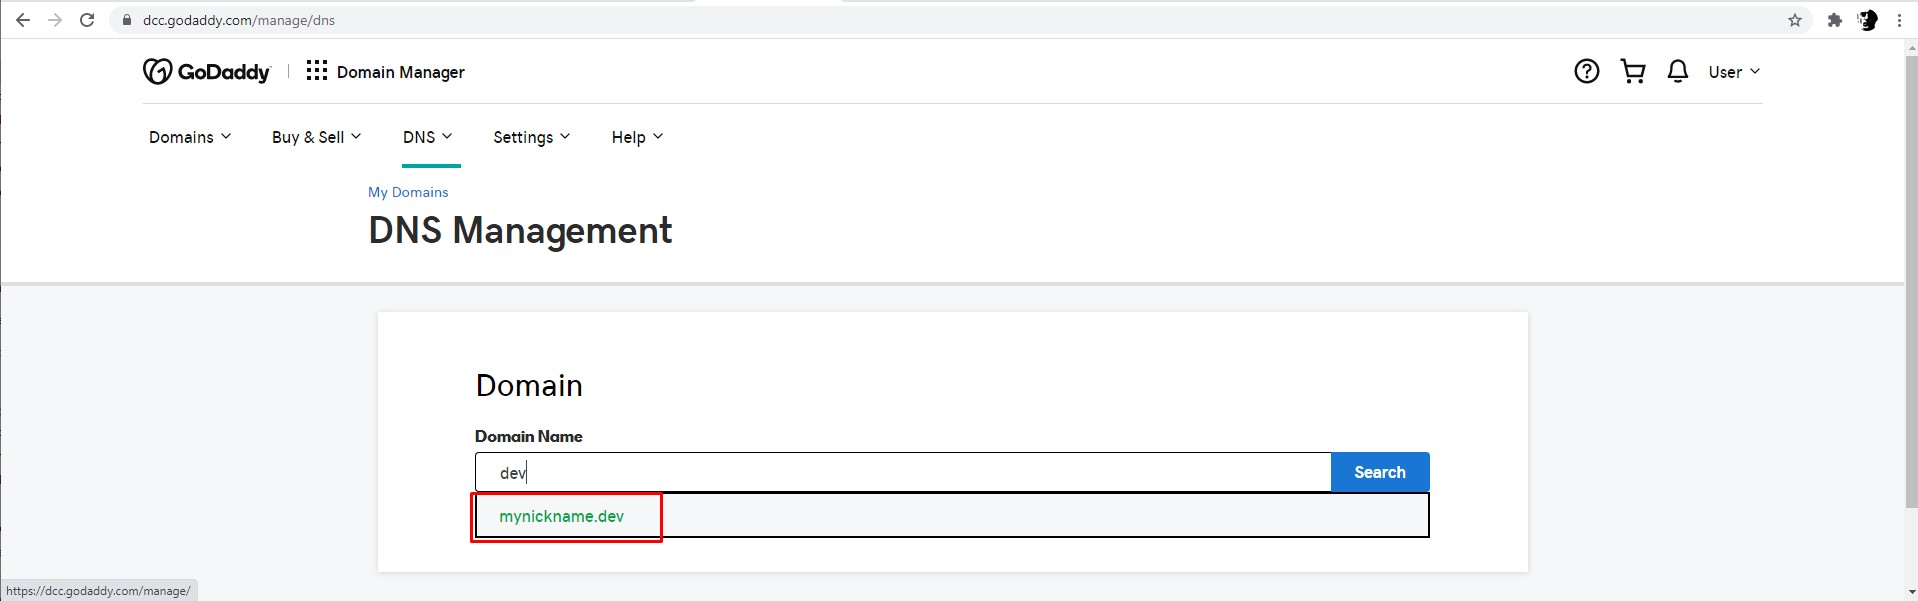
Let's imagine that you have chosen the following domain name mynickname.dev
2) Go to https://godaddy.com, enter your domain and click Search
3) If the domain name is available - add it to your cart and hit Continue to Cart
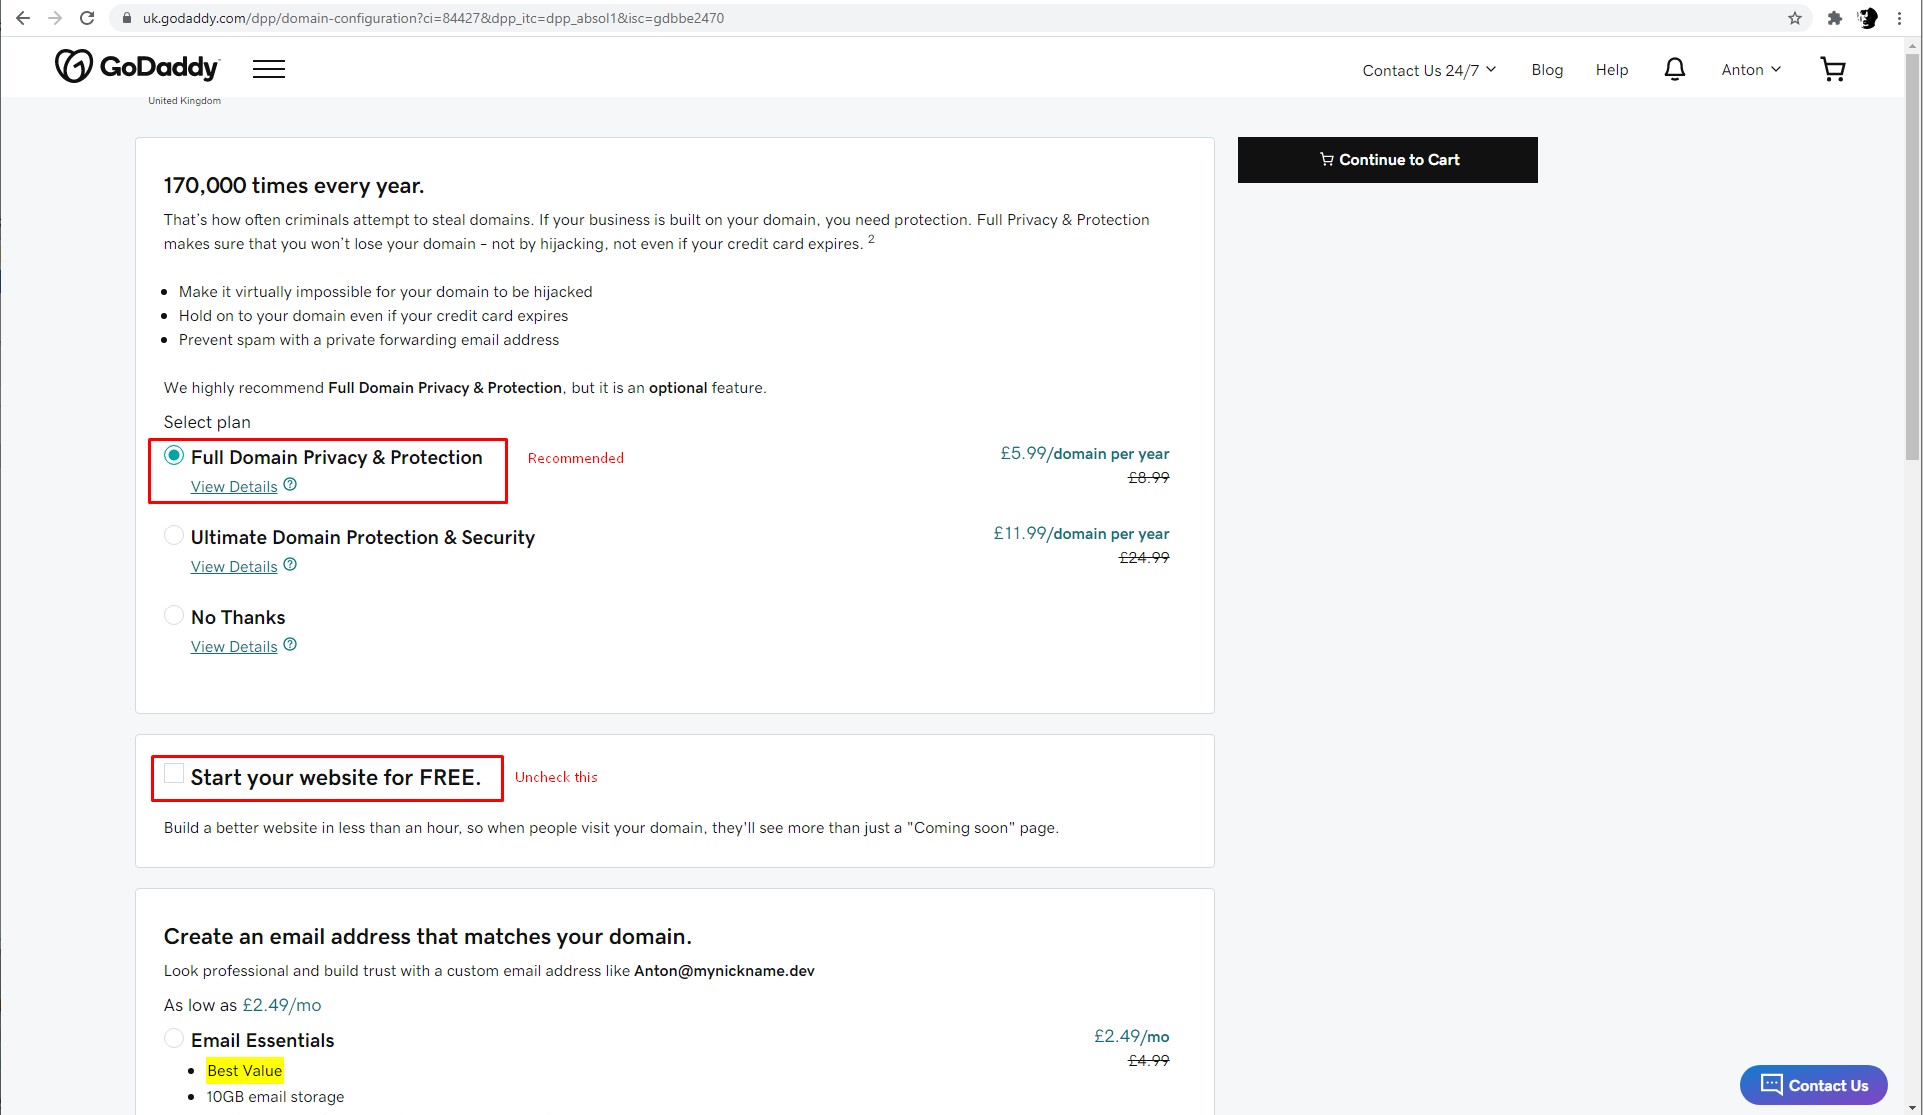
4) In the second section uncheck the box Start your website for FREE
Note Additionally you can enable Full Domain Privacy & Protection (recommended)
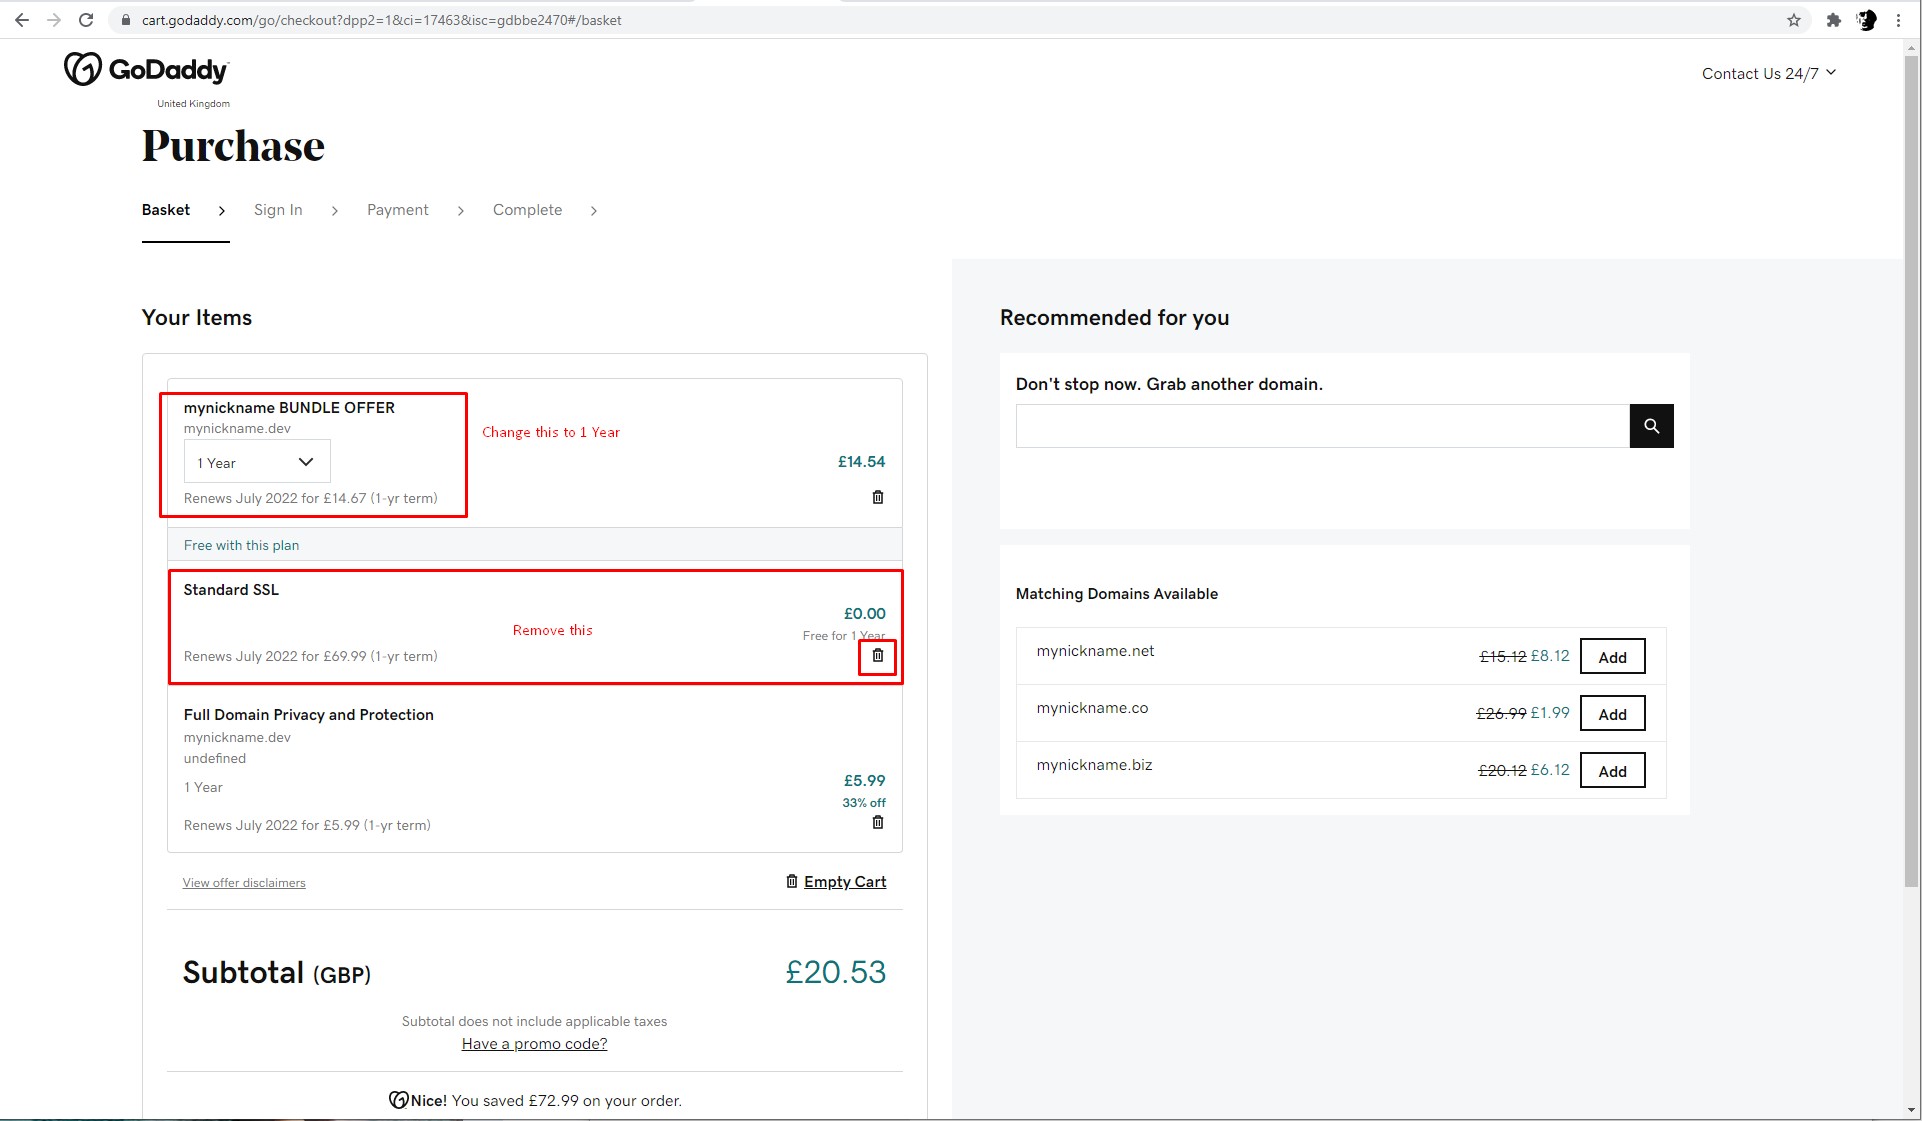
5) On the final page you need to remove Standard SSL since Hashnode & Cloudflare will set up their own life-free SSL certificates.
Note You can change 2 Years to 1 Year - it will be cheaper to start.
6) Continue to checkout and pay for the domain
Domain registration on Cloudflare
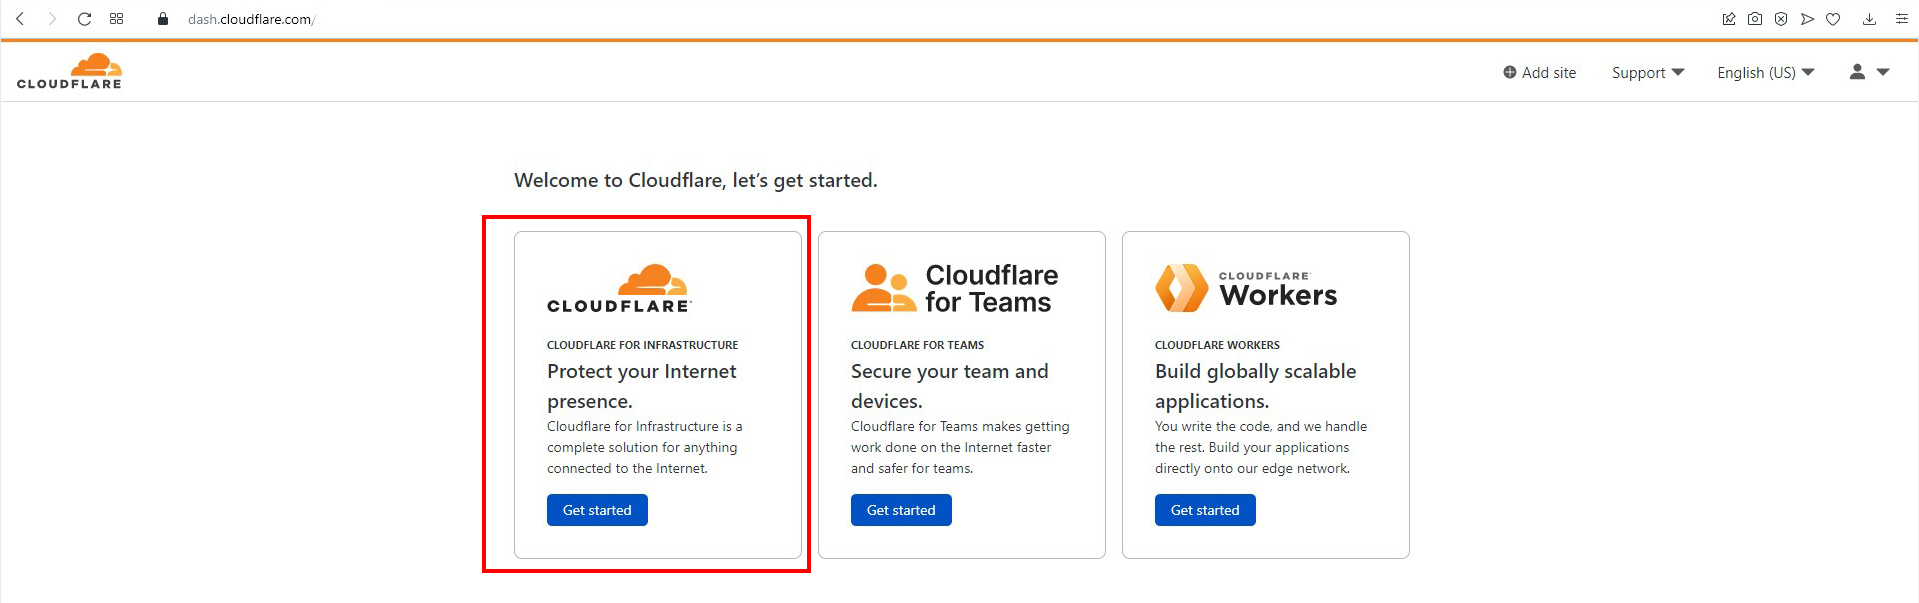
1) Navigate to https://www.cloudflare.com/ and create your account
After creating an account click on the section named Protect your internet presence
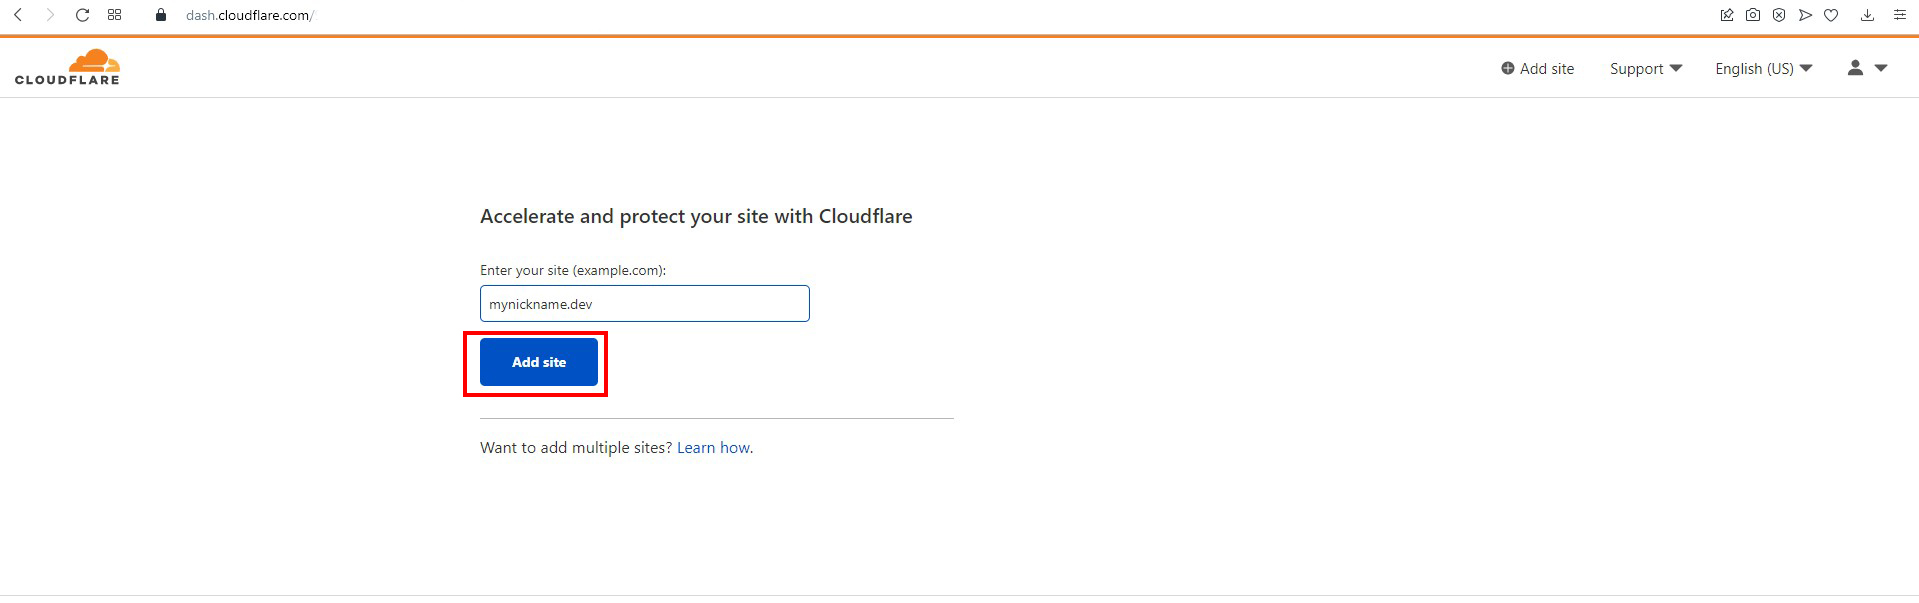
2) Enter your domain name and hit Add site
3) Select Free plan and hit Continue

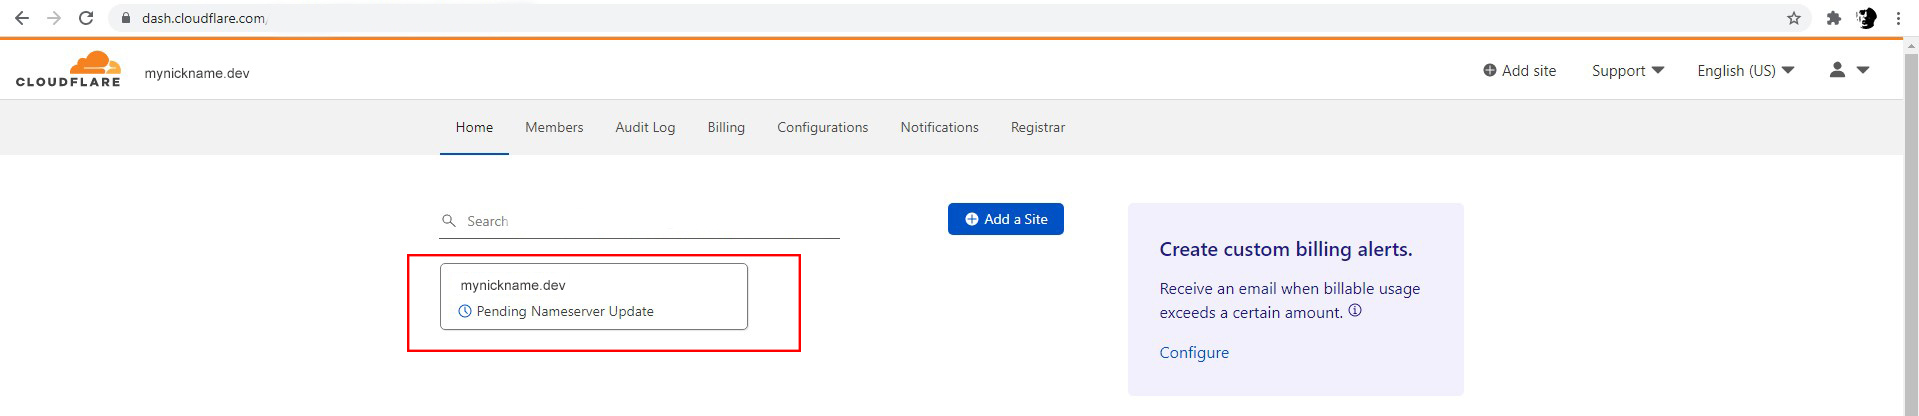
4) Click on the newly created domain name
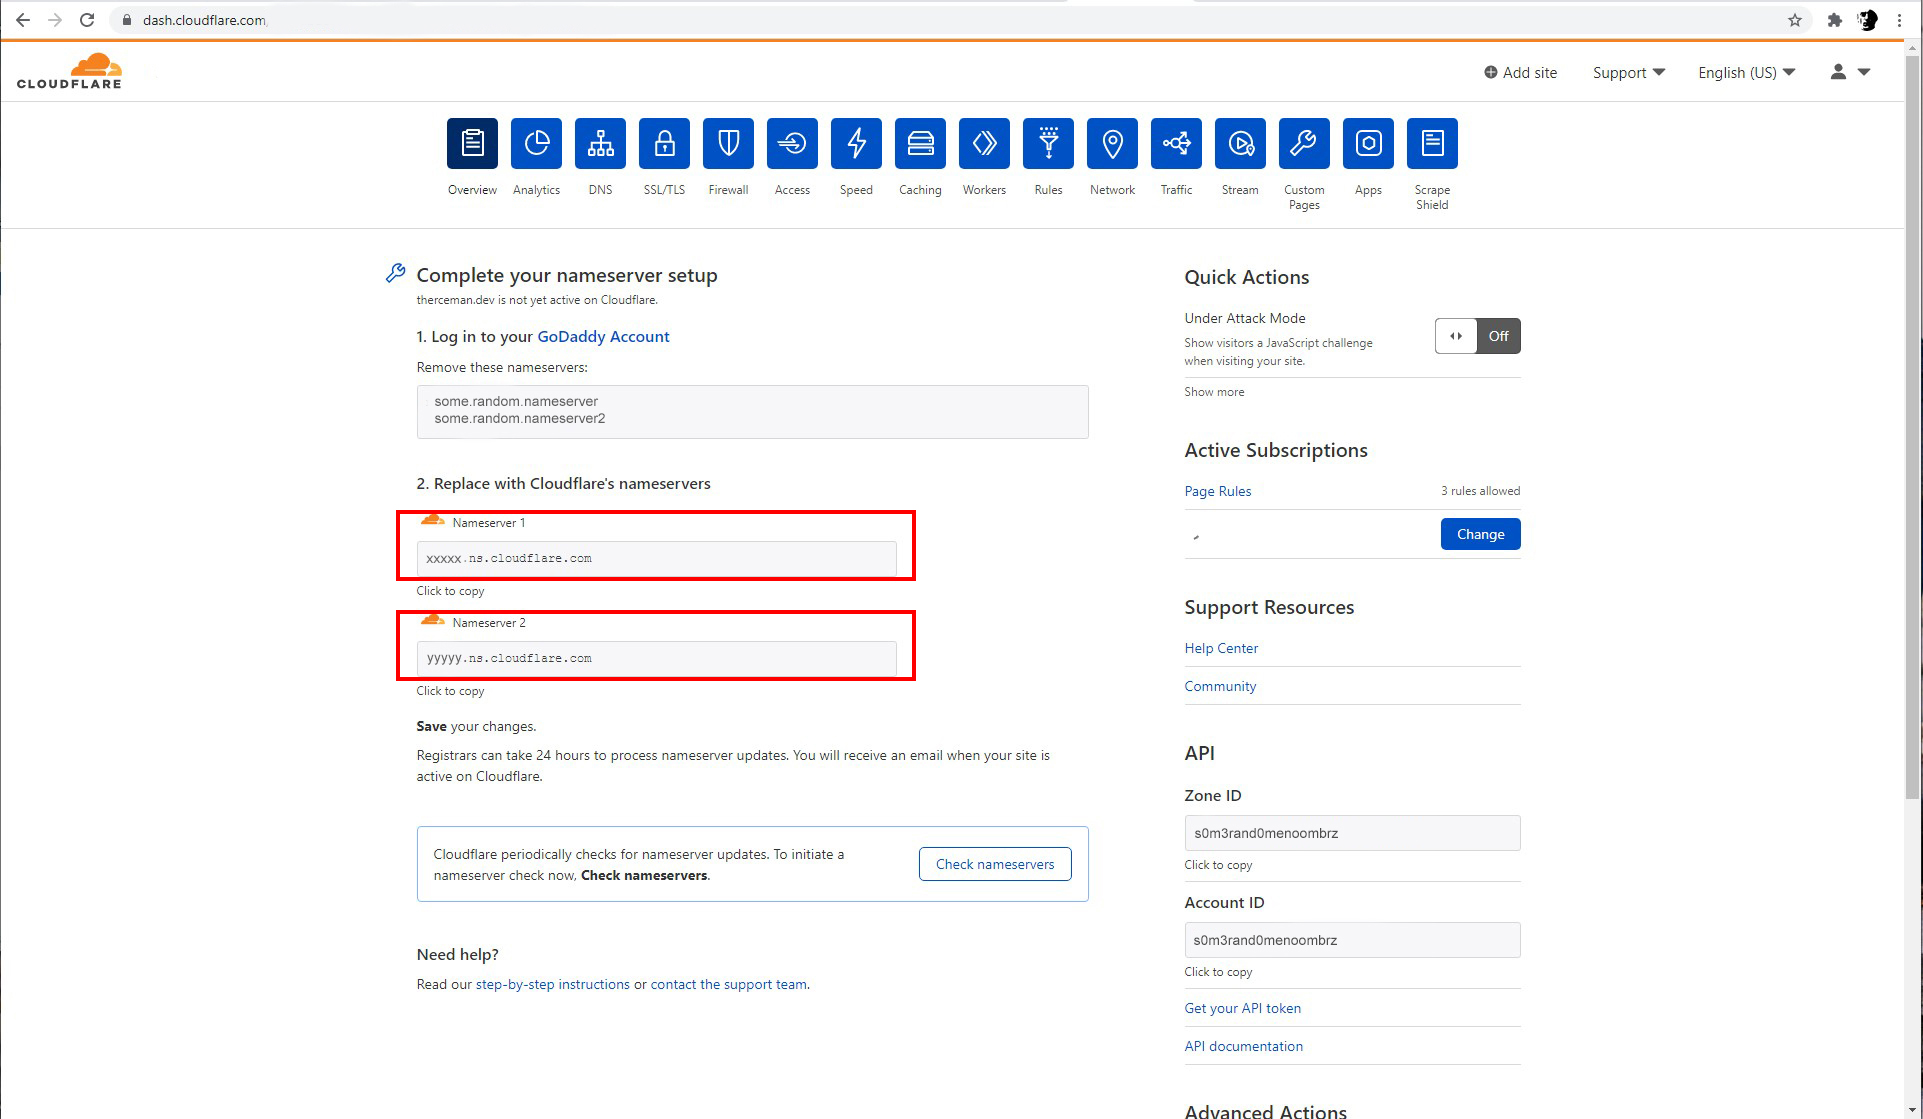
5) Copy Nameserver 1 and Nameserver 2 URL's from the config page
Changing nameservers on GoDaddy
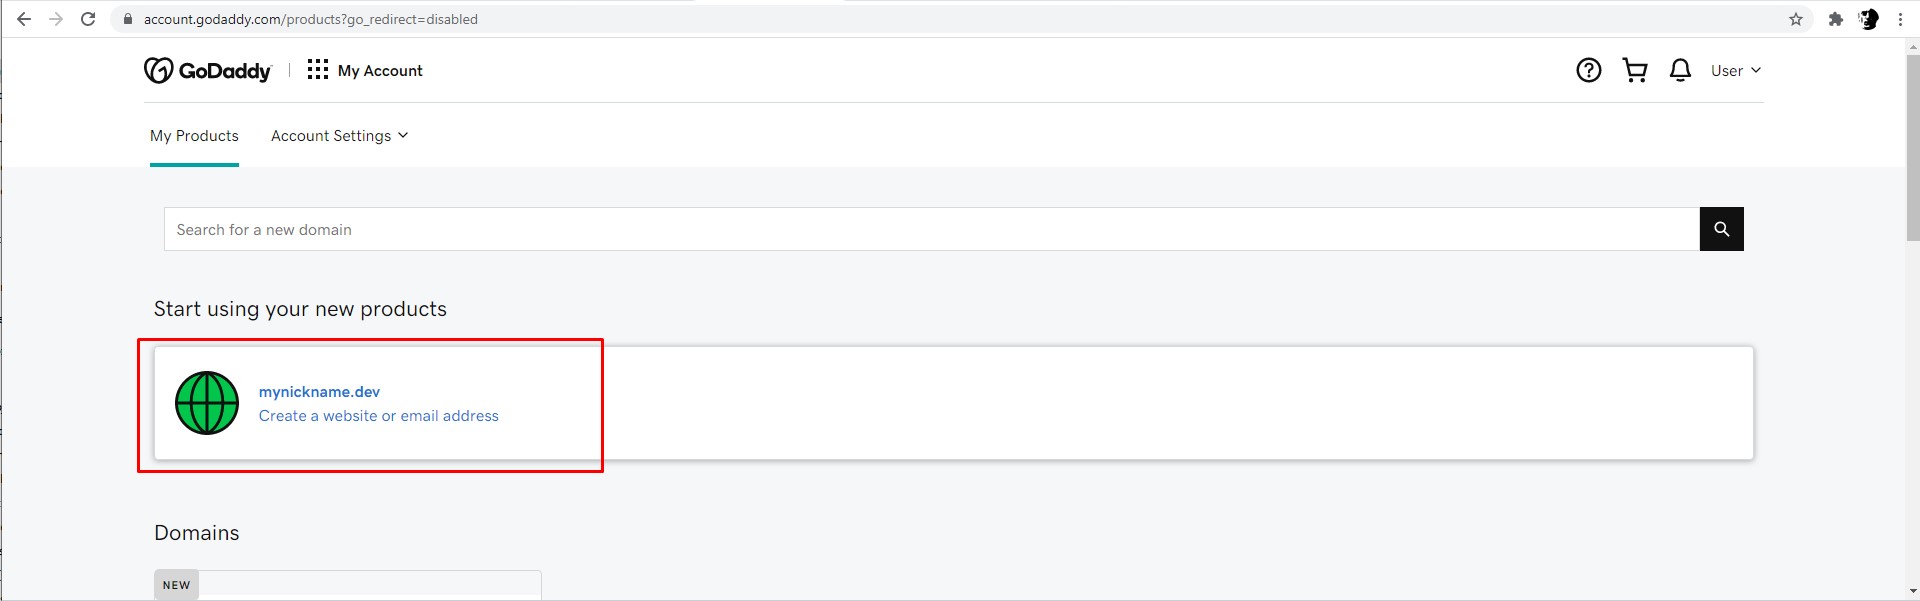
1) Navigate back to your GoDaddy account, go to the home page and click on your domain
2) Click on DNS and select Manage Zones from the dropdown

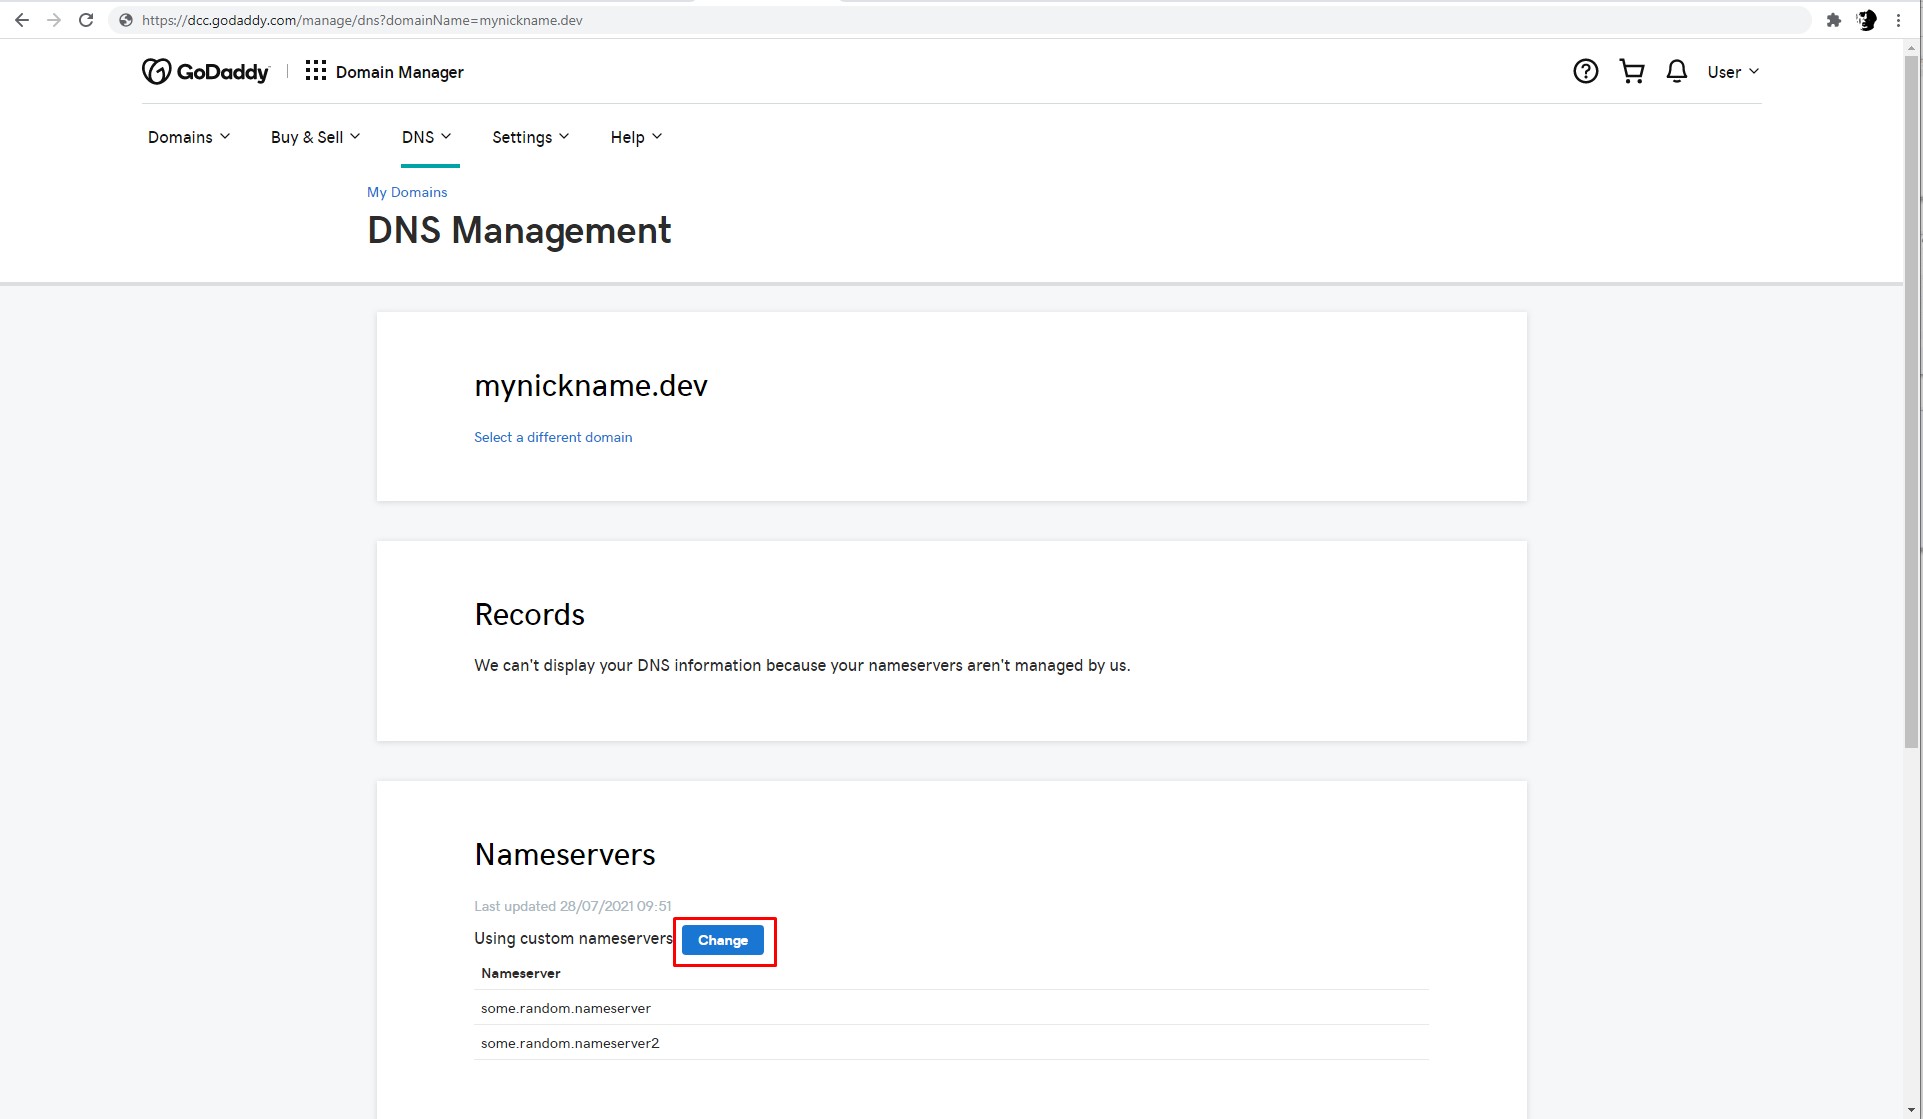
3) Search for your domain on the next page and click on it
4) In the Nameservers section click the Change button
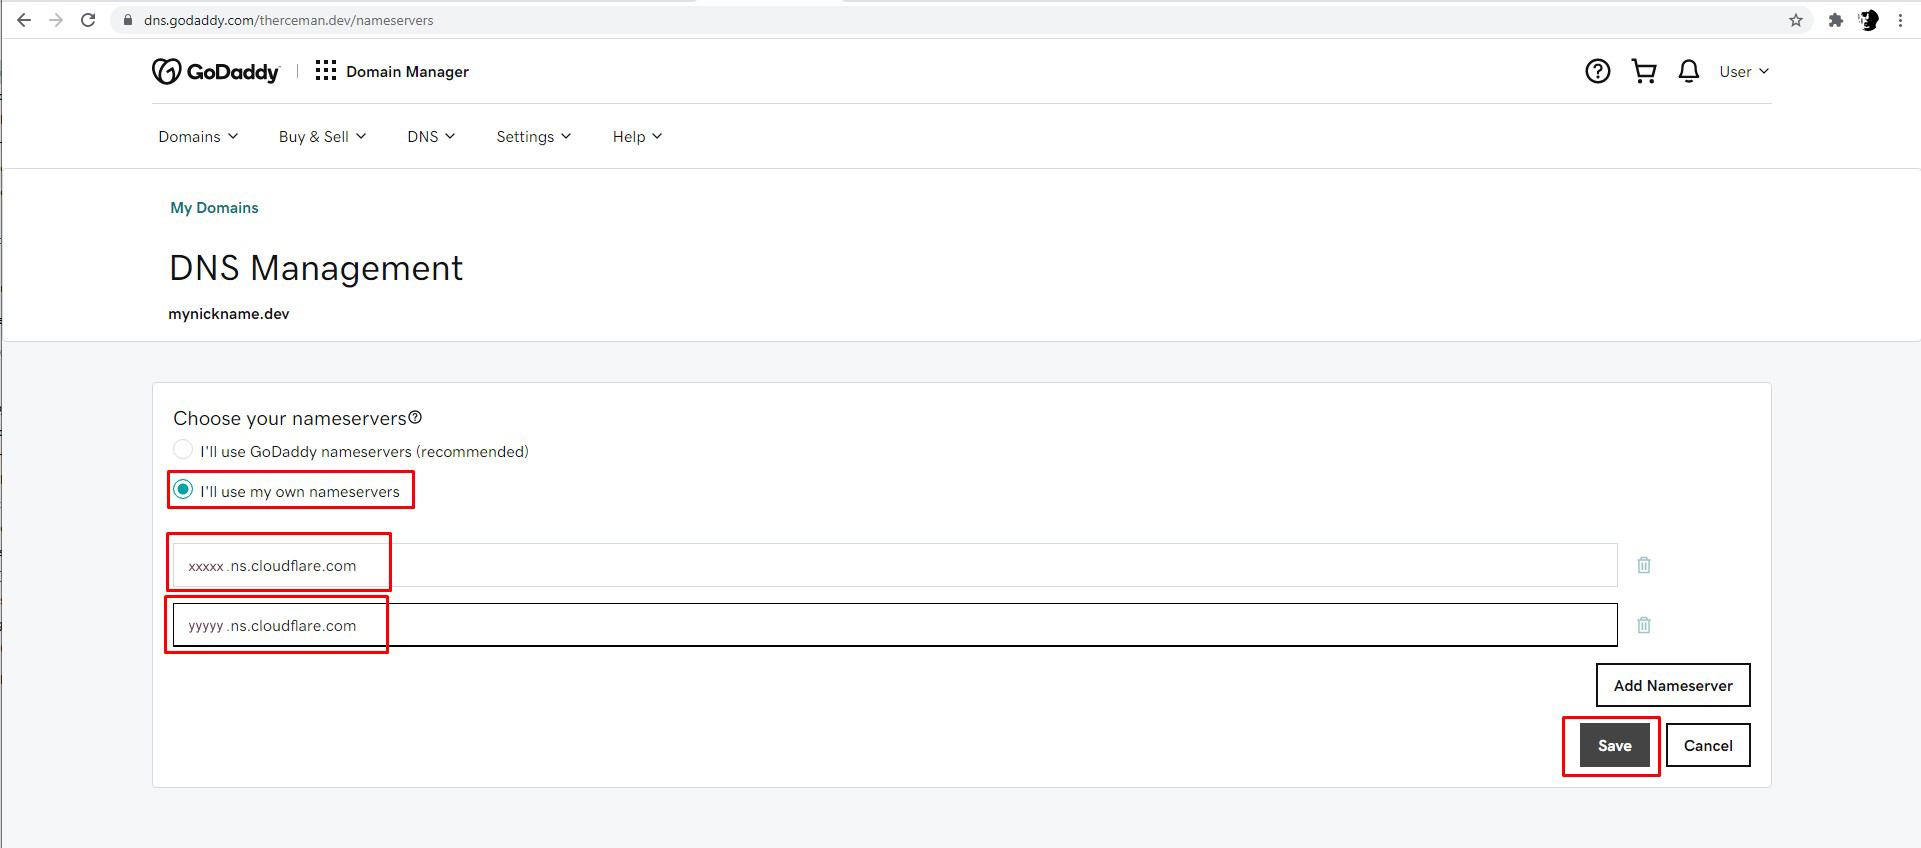
5) Check I'll use my own nameservers and enter copied Nameserver 1 and Nameserver 2
6) After ~5-30 minutes you will receive an email that your domain is ready, you can go back to your Cloudflare dashboard and check the status

Hashnode setup for custom domain
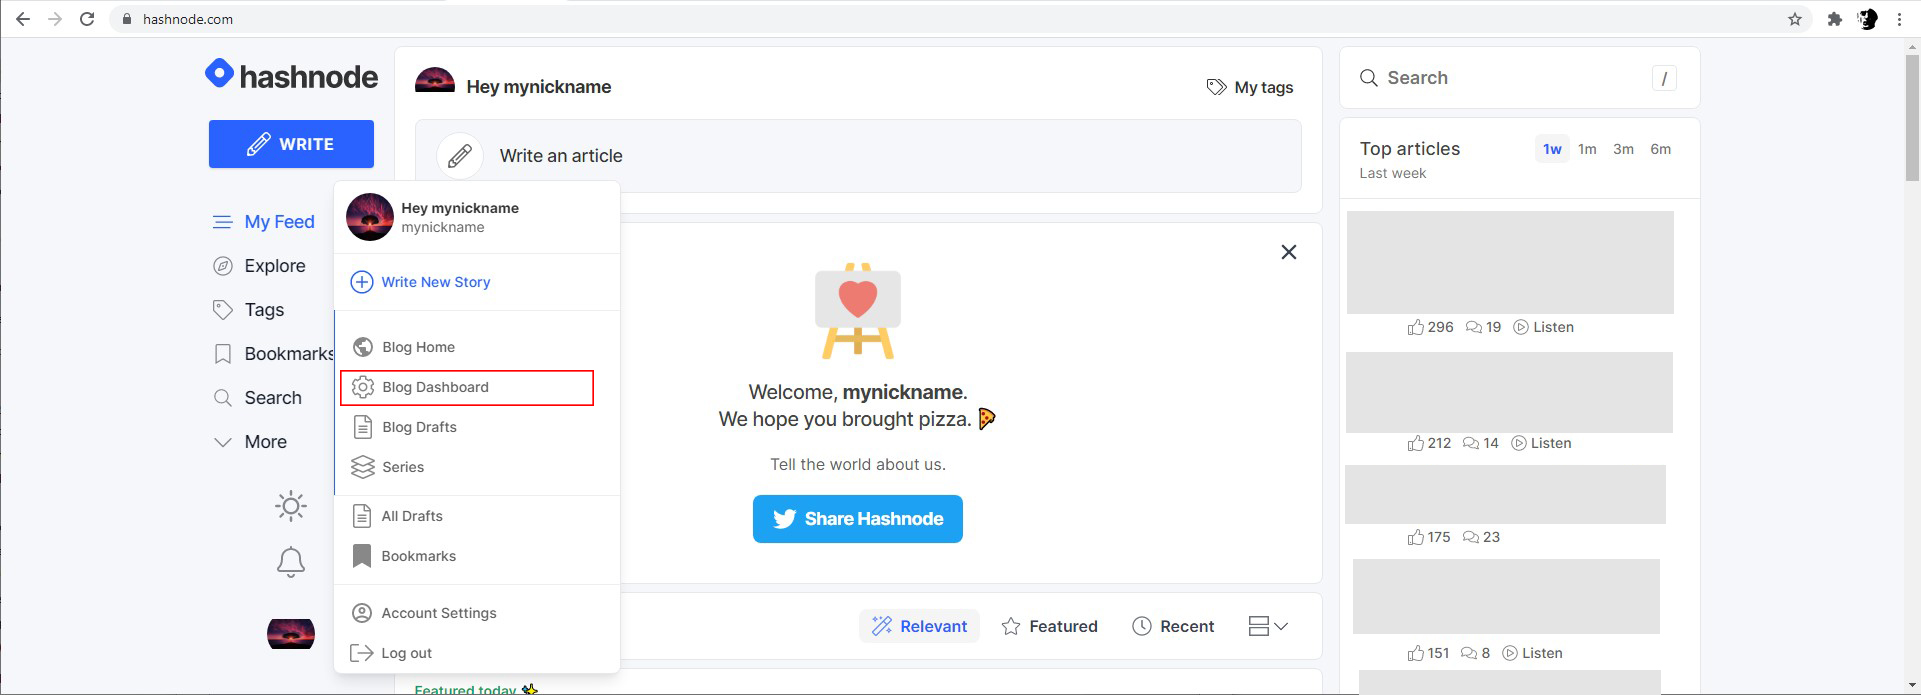
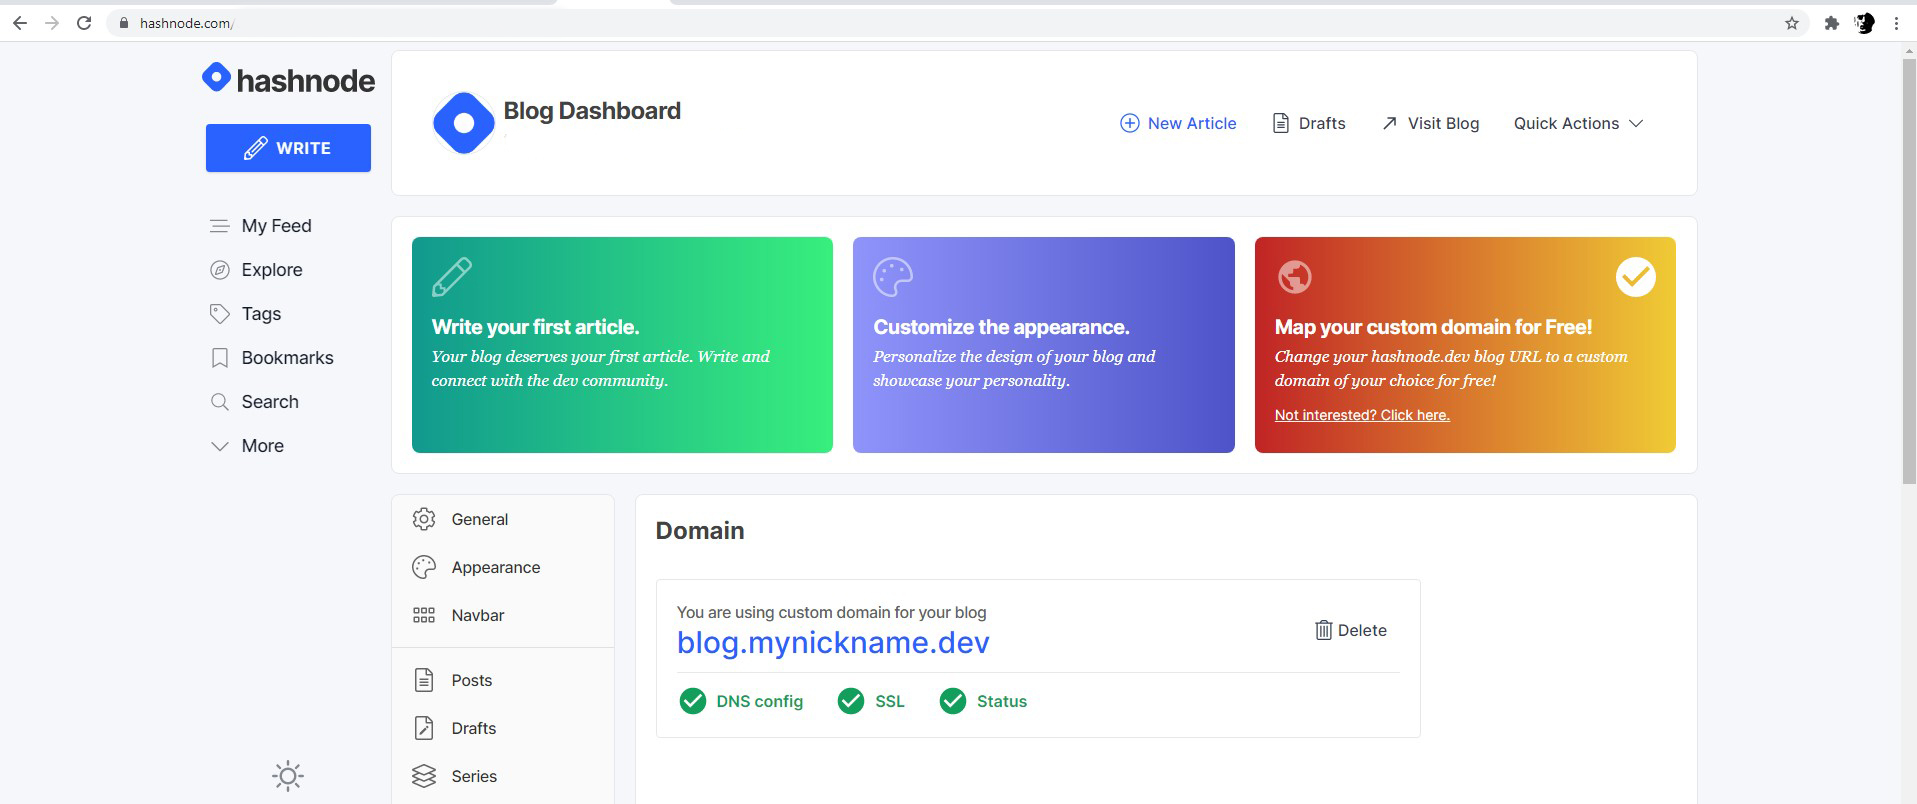
1) Go to your Hashnode account, click your profile image and select Blog Dashboard
2) Scroll down and click the Domain button
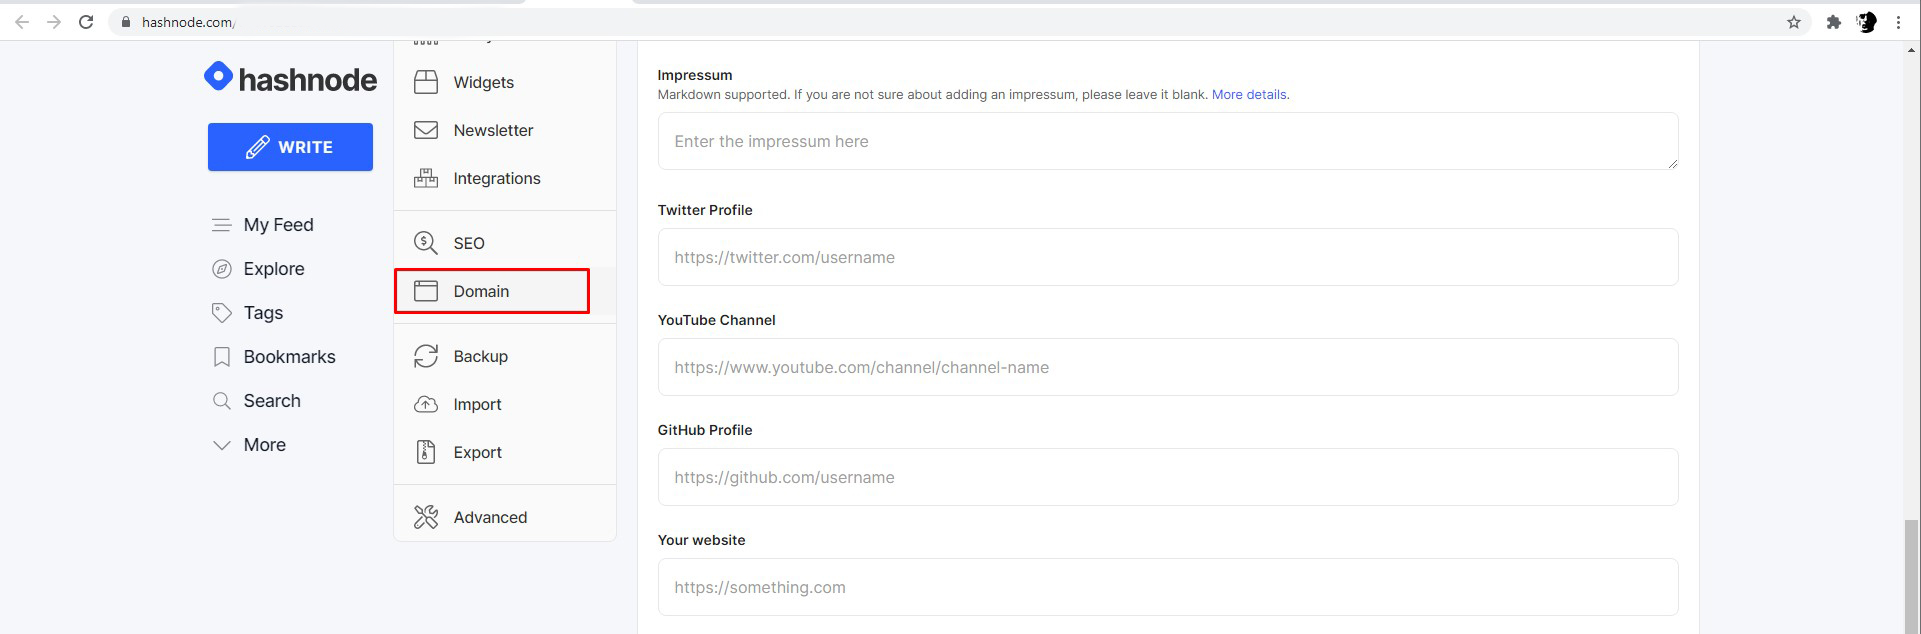
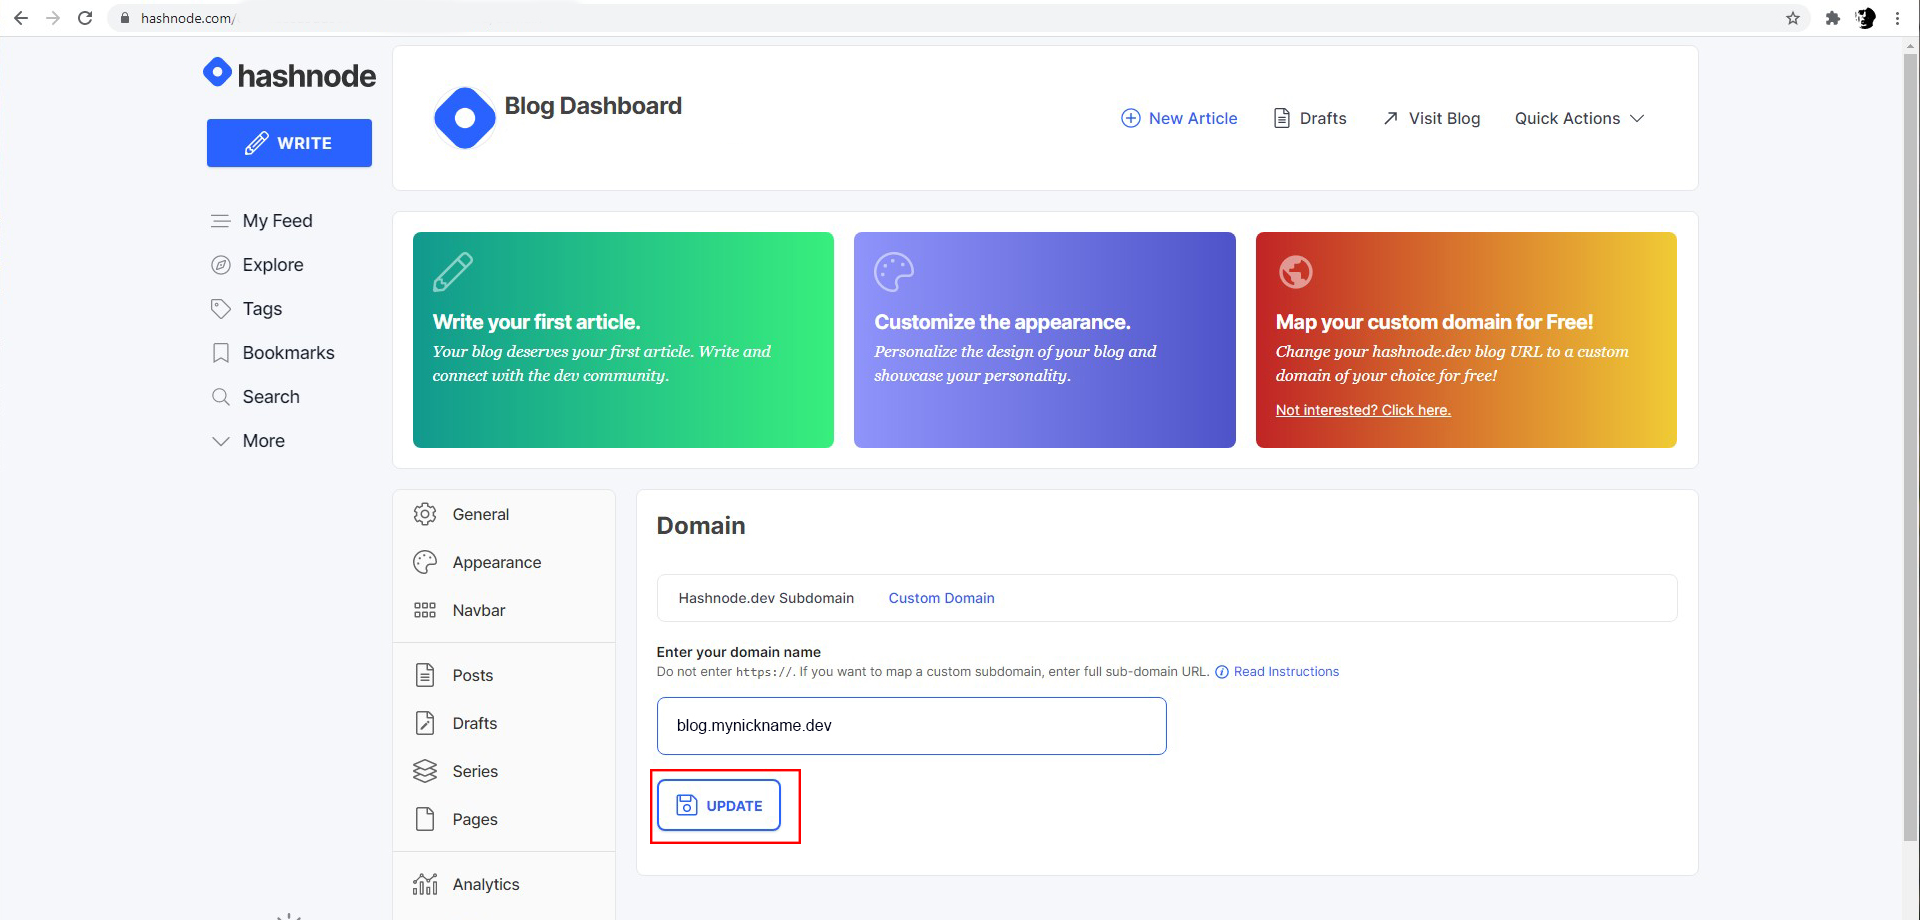
3) Enter your domain name or blog subdomain for your domain and hit Update
Note In this example we are using the blog subdomain. e.g. blog.mynickname.dev
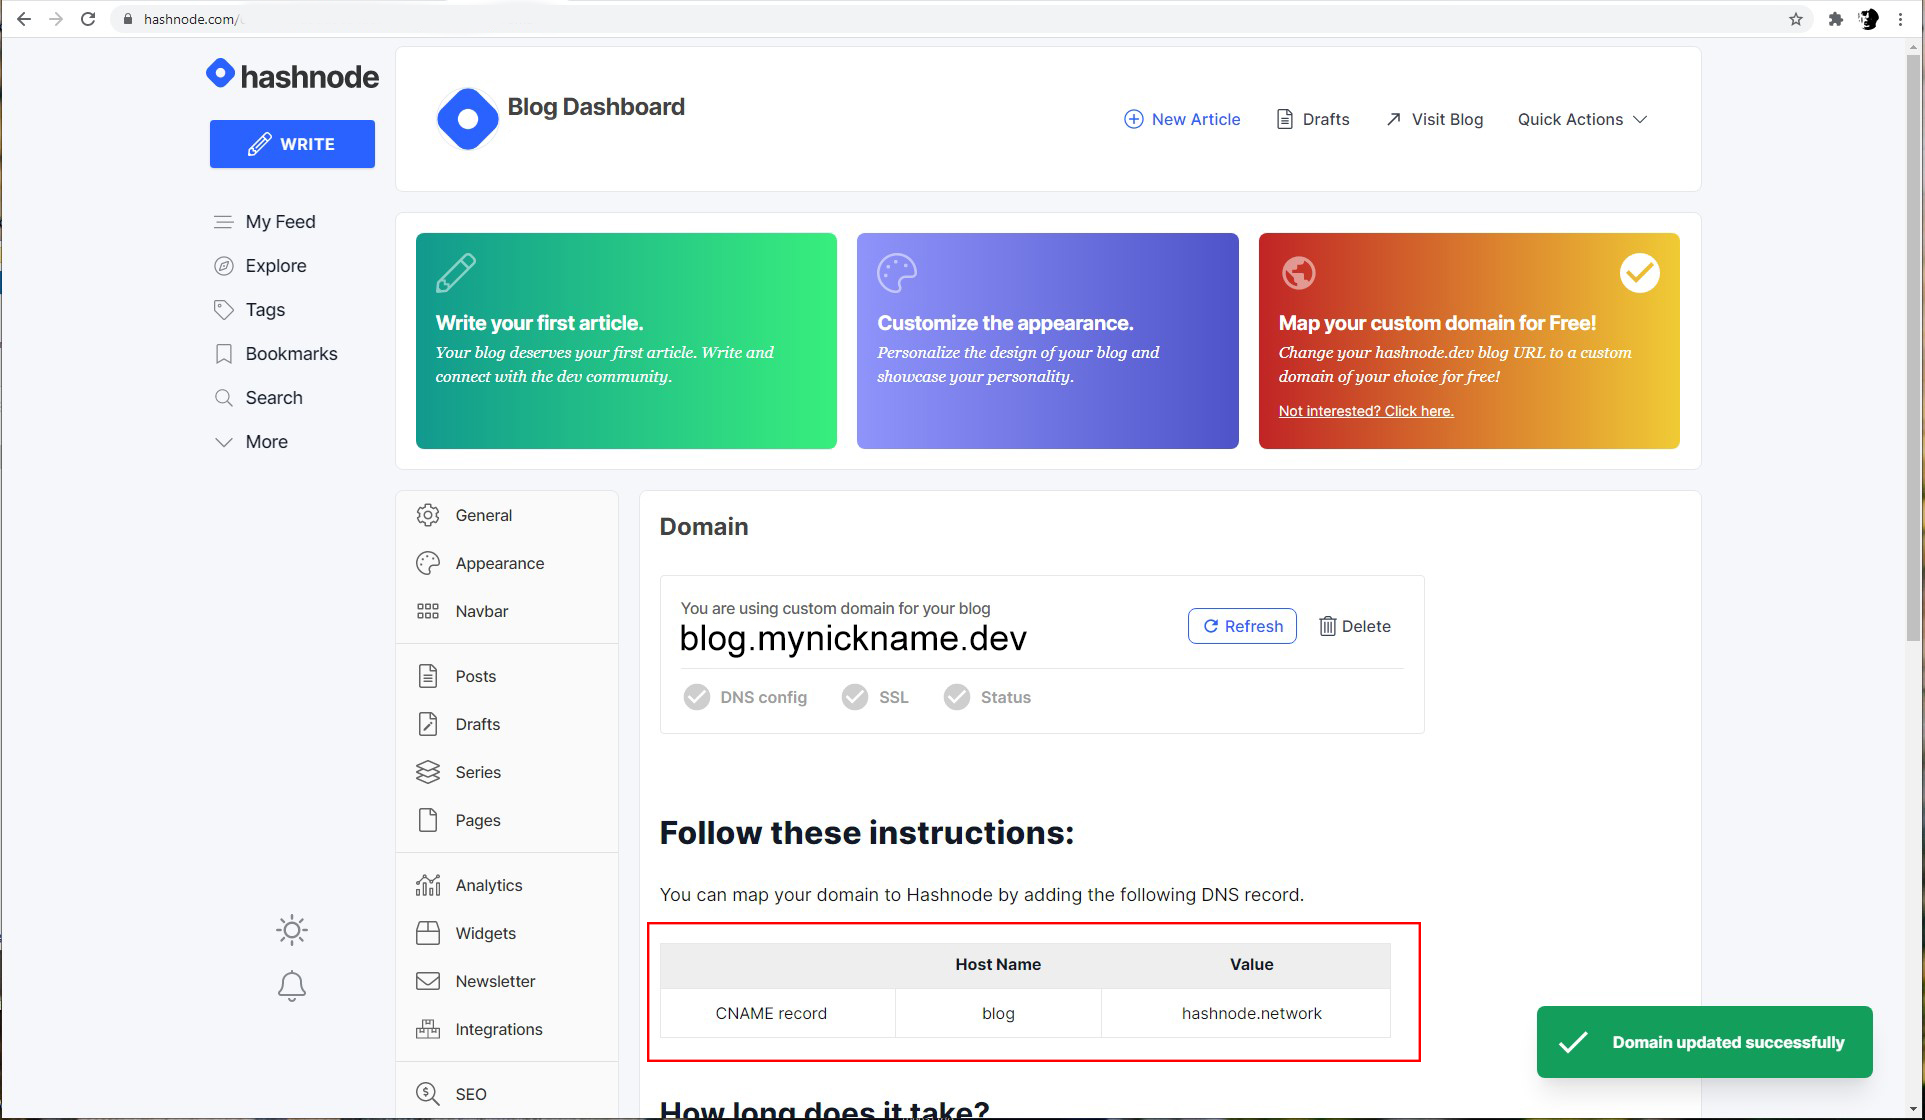
4) On the next page with configurations, you need to copy the Host name & Value fields.
Cloudflare final setup for Hashnode domain
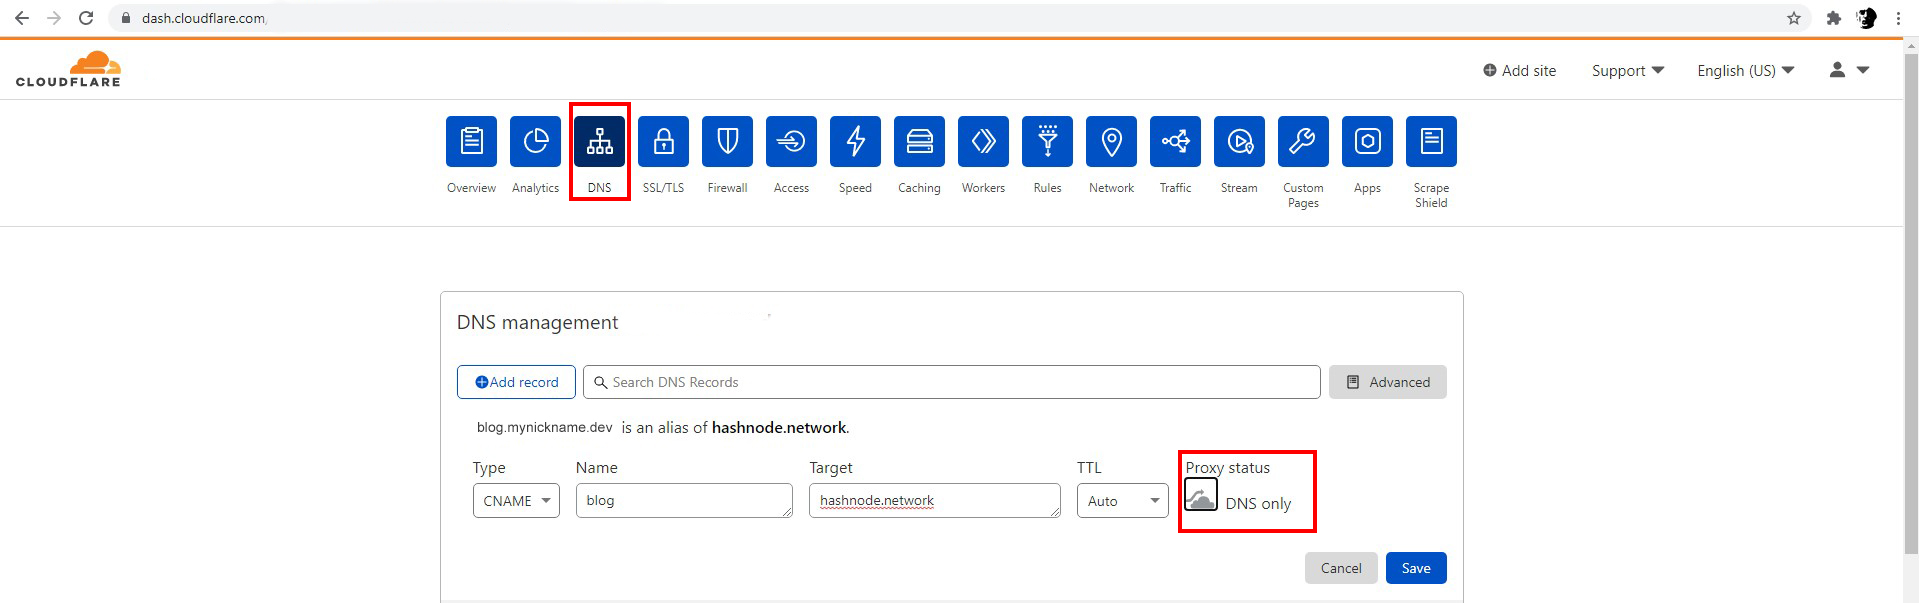
1) Go to your Cloudflare account, select your domain and then click the DNS button
2) Click the Add record button, select CNAME as Type.
3) Put copied Host name value into Name field and Value value into Target field
4) Click on Proxy status to set it to gray and Save
After ~ 5 - 10 minutes go back to your Hashnode account and check the status of your domain
If everything is OK - you can now use it
Thank you for your time, Have a nice day!
Best Regards, Anton (therceman)